Scratch the Ticket Gadget Timing
Spend information tools like a bankroll manager, not a magician.
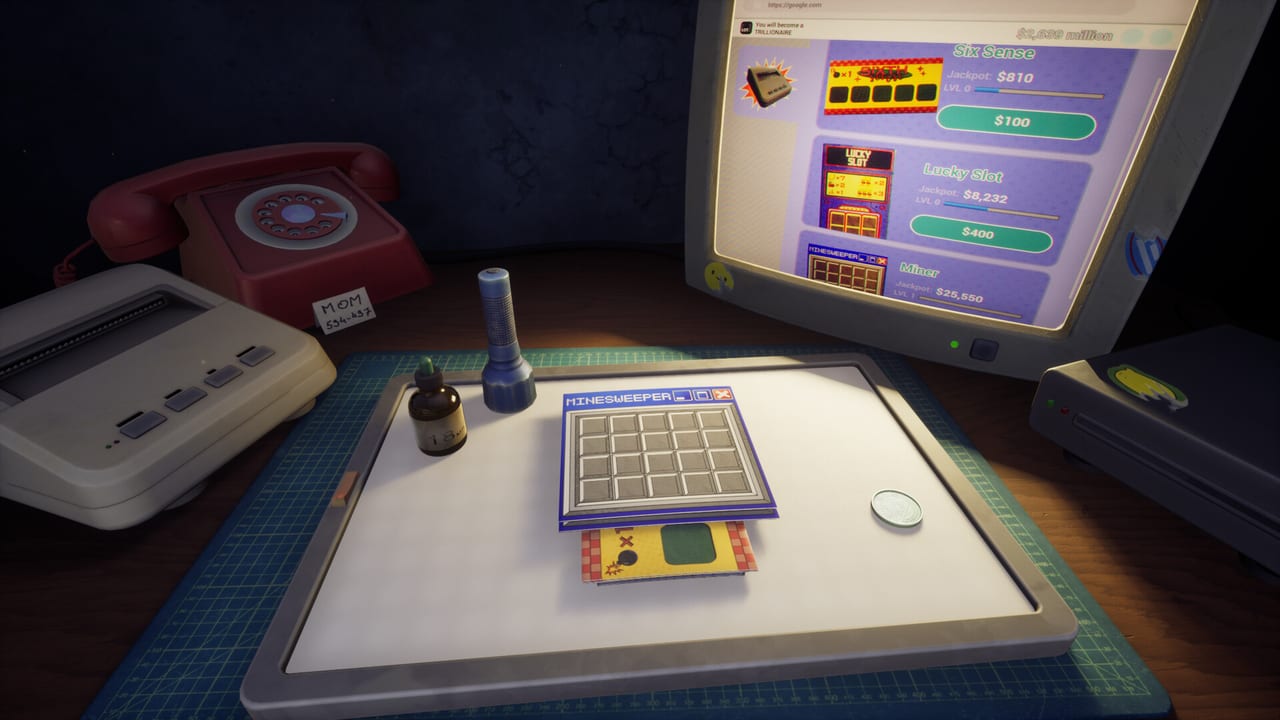
Gadget timing is where Scratch the Ticket players separate from pure gamblers. Spy, UV Flashlight, and Drop do not make bombs disappear from the design. They move information earlier so your cash-out decisions are less delusional. This page ranks spend priorities.
Timing Spy and UV
Use Spy when a ticket is costly enough that knowing one dangerous cell changes your stop line. Use UV to actually read the mark before you commit. Cheap warm-up tickets rarely deserve the pair. Tool identities are explained on Spy and UV Flashlight.
Timing Drop
Drop is the emergency X-ray. Spend it when upside is enormous and a blind bomb would erase meaningful progress toward printers or the apartment. Never Drop a Role B warm-up card from Ticket Types. Deep dive on Drop X-ray.
Tier view of spends
S-tier spend: Drop on a needle-moving ticket with healthy bankroll goals. A-tier spend: Spy plus UV on mid-high stakes when you are already up for the session. B-tier spend: Spy alone for learning. C-tier spend: any gadget on junk tickets because you are bored.
Sequence inside one ticket
Mark first if Spy is available. Reveal with UV before deep scratches. Cash according to Cash-Out Strategy. Consider Drop only if the remaining uncertainty still threatens a huge payout path.
Bankroll coupling
Gadgets are not free. If buying tools empties the cash that printers need, you are decorating poverty. Keep purchases aligned with Upgrade Path and Printers.
Tilt spends
After a bomb, players love revenge gadgets. Ban revenge Drops. Take two conservative tickets first. Use the Cash-Out Helper as a speed bump.
Demo experiments
In the demo, run one session where gadgets are banned, then one session where gadgets follow this tier list. Compare net results. That experiment teaches faster than theory. Log findings beside Demo Notes.
Launch caveat
Full release tools may expand. Re-check this page after August 13, 2026 using Launch Day. Principles should survive even if names change.
Related reading
New players should still complete Getting Started and How to Play before optimizing spends. Goal-focused players pair timing with Apartment Goal.
Perfect gadget timing feels boring. Boring is how you stay rich enough to keep printing.
Final reminder for gadget budgets
Rank spends by pain avoided, not by how cool the animation looks on the desk.
Microscope and LED Panel after hotfix
LED Panel purchasing was broken for some owners on day one — patch first. Microscope is inspection, not an X-ray; reset it when it clips a wall. Drop remains S-tier on dense bomb grids. Zoom does not replace Drop. Empty gadget stock means skip Role S prints.
Microscope and LED Panel in the spend order
The microscope is inspection, not an X-ray; reset it when it clips a wall. LED Panel sits between Spy/UV and Drop as a silhouette spend — but only after the Release Hotfix made the shop buyable. Drop remains S-tier on dense bomb grids from Minesweeper Tickets. Zoom does not replace Drop. Empty gadget stock means skip Role S prints, not mash Role B until you feel lucky. If physics yeets a flashlight off-screen, stop spending and use Save Files instead of printing another high-stakes card.
Write a spend order before you print: Spy/UV first, LED Panel if the shop works, Drop last. Break the order only when the live card is already lost.
Frequently Asked Questions
Quick answers to the most common questions.
Should I Spy every ticket?
No. Save information tools for tickets that hurt to lose.
Is Drop always better than Spy?
Drop is stronger and rarer. Different jobs. See Drop X-ray.
What if I have no gadgets?
Cash earlier and play safer roles from Ticket Types.
Where are tool explanations?
In the Gadgets Hub.